
.jpg)
Whether you have a brand-new kitchen that you want to keep looking fresh or an older kitchen that you want to maintain for as long as possible, these kitchen cleaning tips (plus, some kitchen cleaning hacks!) will guide you.
Plus, we’ve woven in some ideas for how to donate the kitchen items you no longer need, so this cleaning spree can be helpful beyond your four walls.
Here’s your checklist for how to clean a kitchen step-by-step:
Step 1: Everything must go.
Want to know how to clean your kitchen? The most effective way to get a deep, thorough, clean and completely cull through your tools and gadgets is to take everything out first. Do not skip this step! Remove everything from your countertops and inside your cabinets, and spread the contents out in another room so that you can easily see everything. Don’t forget to empty the pantry, too.
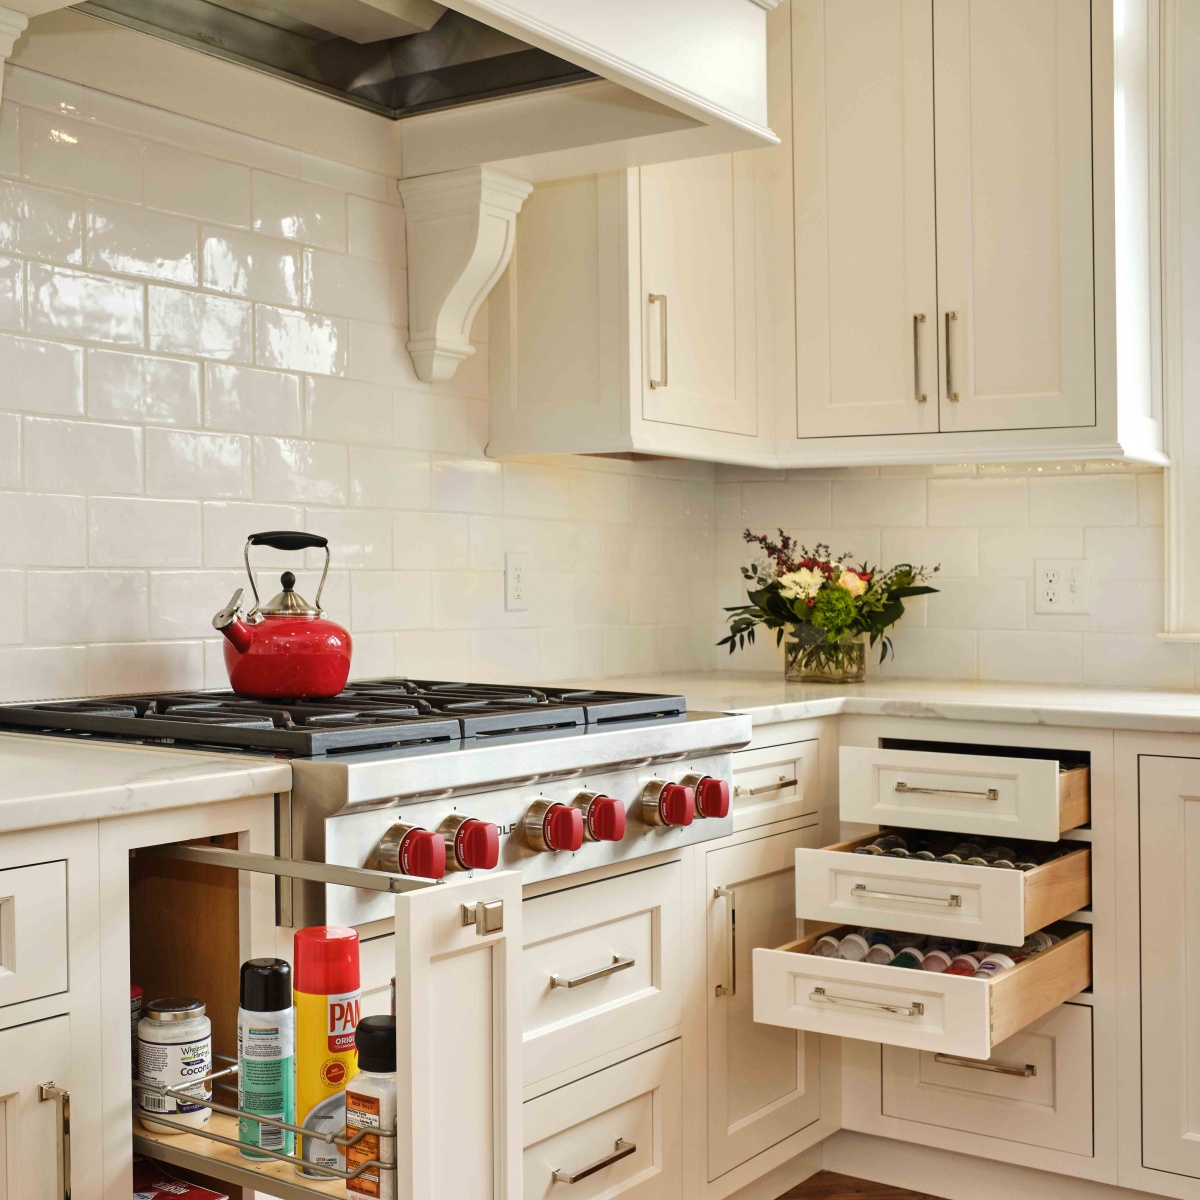
Step 2: Clean your cabinetry.
Use a clean, damp cloth with a mild soap, such as Dawn liquid soap and water to gently clean cabinets. Dry thoroughly with a clean, dry cloth. Do not use harsh detergents, abrasive cleaners, self-polishing waxes, or bleach.
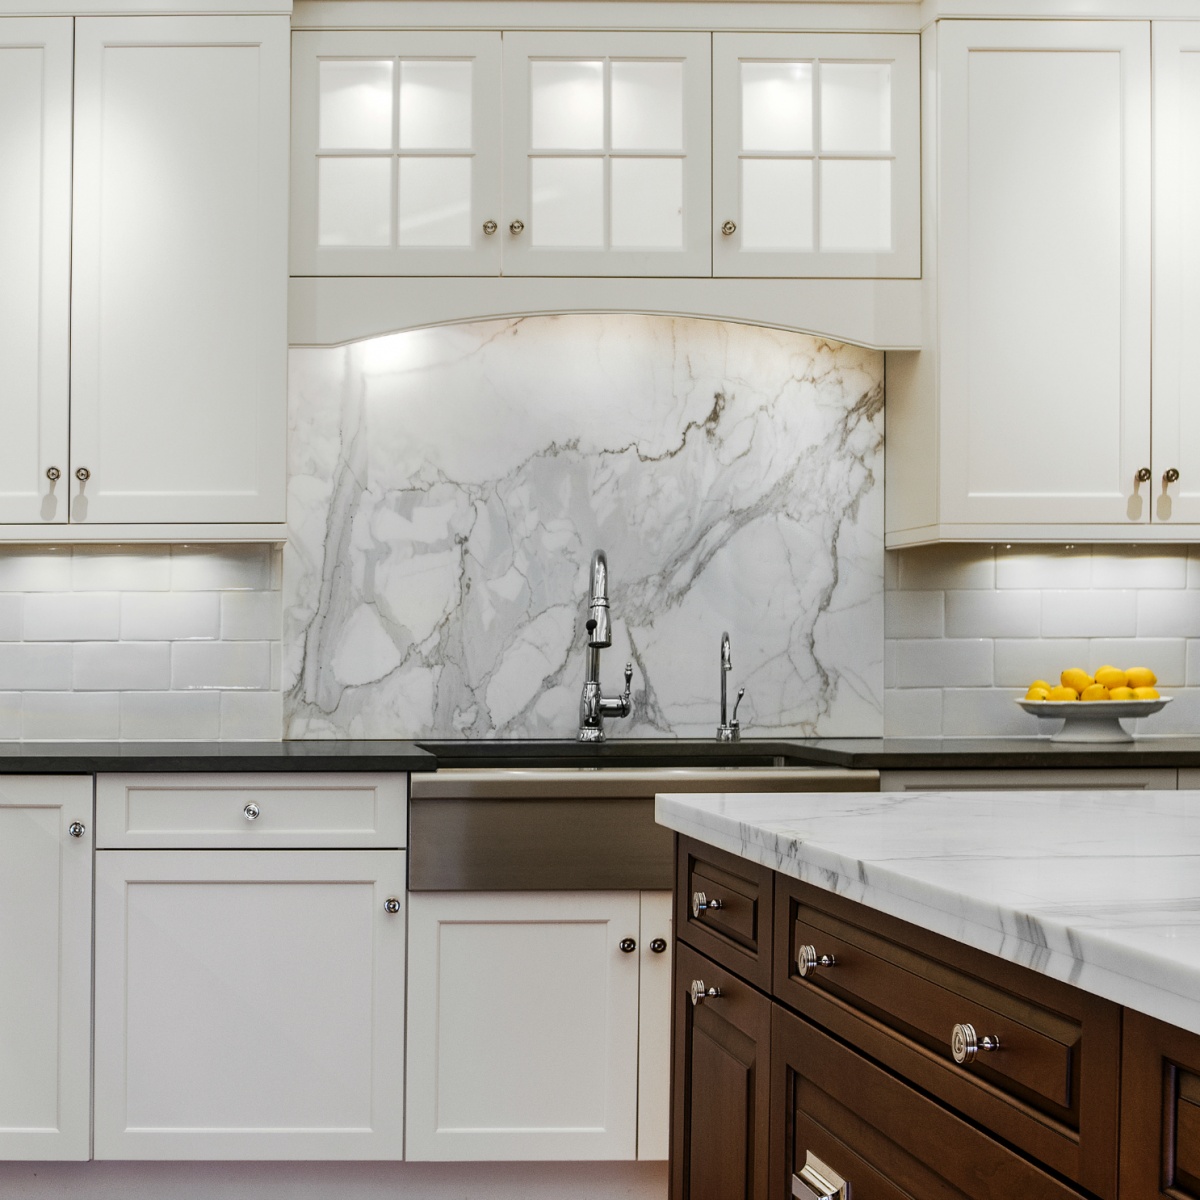
Tranquil Classic Kitchen Design in Milford CT
Step 3: Clean glass doors.
Spray ammonia-free glass cleaner, onto a paper towel or microfiber cloth and wipe the glass clean. Never spray the cleaner directly onto the glass, as it could damage the surrounding cabinetry over time.

Stunning Transitional Kitchen in Westport, CT
Step 4: Wipe down hardware.
This step is often overlooked because kitchen hardware often hides grime well. However, hardware gets hands-on use every day, so add this to your list of things to do weekly, and not just during your big cleans.
Step 5: Clean your countertops.
Stone countertops (granite, soapstone, marble) require specific care, so make sure you know what kind of countertop you have and clean it accordingly. Do not use acid or oil based cleaners such as ammonia, white vinegar, commercial cleaners on stone countertops.
Many of our clients use Counter Kleen, which is often recommended by Galleria Stone, a trustworthy local stone and tile supplier. However, you should check with your stone provider before using a new product, as certain cleaners can void warranties or ruin seals.

White Coastal Kitchen in Branford, CT
Step 6: Make the microwave sparkle.
Microwave explosions make a big mess, but clean up is easy. Place ½ cup water and ½ cup vinegar in a microwave-safe bowl, then microwave on high for three minutes or until the water comes to a boil. Allow the microwave to cool, then wipe down the interior with a damp cloth.

Modern Contemporary Condo in East Haven, CT
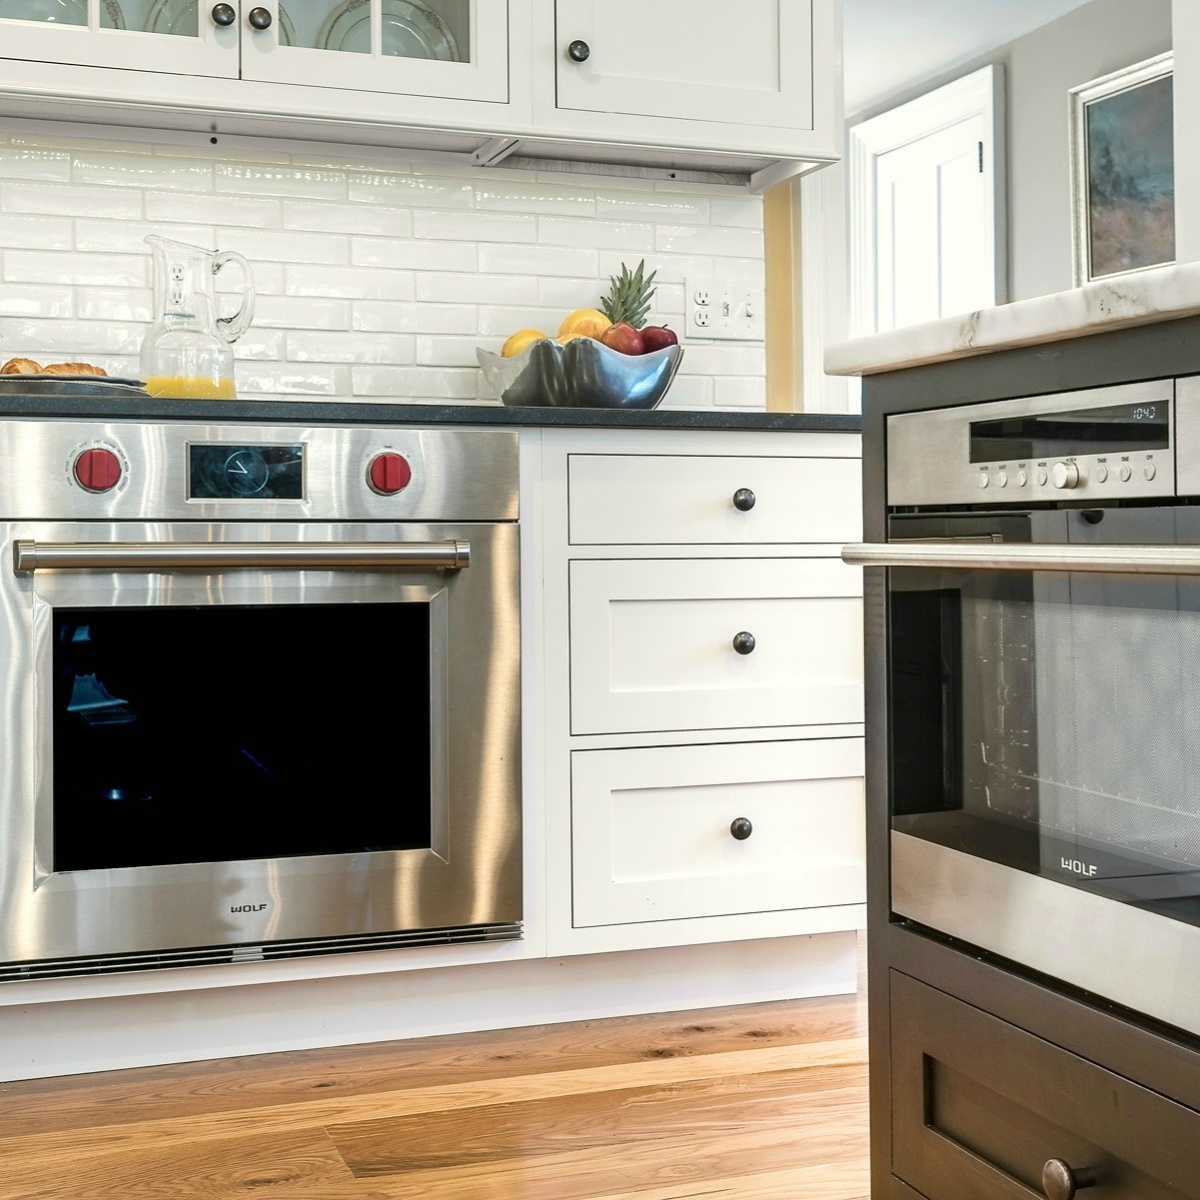
Step 7: Restore your oven’s shine.
Mix baking soda and water together until it forms a paste, then use a sponge to spread the mixture over every part of the oven’s interior, including the door and racks. Let this sit overnight. In the morning, spray the dried paste with distilled white vinegar-- this will cause the paste to fizz. Once the entire interior is fizzing, close the door and let it sit for 2-3 more hours. After all this waiting, the baked-on grease and grime should come off easily when wiped with a wet sponge or cloth.
Traditional Farmhouse Kitchen in Madison, CT
Step 8: Give your refrigerator a cleanse.
The first step is to remove everything from inside the refrigerator. Examine expiration dates and toss anything that is expired or won’t be used. Review the outside of the fridge, too-- remove any magnets or papers to make it easy to wipe down the exterior.
Then, take out the shelves and drawers and soak them in water and baking soda (use a ratio of 1-quart water to 2 tablespoons baking soda).
While this is soaking, spray down the inside and outside of the fridge with a multipurpose cleaning spray then wipe with a wet towel. Once the inside has been thoroughly sprayed and scrubbed, wipe the entire inside of the fridge one more time with a clean, wet towel and place the drawers and shelves back inside.
Step 9: Wash the floors.
One of our favorite but simplest kitchen cleaning tips: leave the floor for last because crumbs and debris from the countertop and refrigerator can make their way onto the floor as you clean, and you don’t want that mess dirtying a pristine floor.
Refer to this cleaning chart with instructions to create a homemade floor cleaner that works for your floor type and is non-toxic for the people and pets of the house. If you’re feeling ambitious, consider moving the fridge, stove, and any other appliances or pieces of furniture in the kitchen so you’re cleaning under and behind items that don’t often get moved.

Traditional Gray and White Kitchen in Cheshire, CT
Step 10: Streamline and donate.
Once everything is clean, you’re ready to review everything you’ve taken out of the kitchen and determine what stays and what goes.
It’s tempting to hang on to things you think you might need, but keep in mind that these items can find a great home with those in need.
Click here to download our What and Where to Donate Guide
We hope you use this clean kitchen checklist to create a simple kitchen cleaning process that works for you, helps those in need and reinvigorates your love for your beautiful kitchen space. For more tips and inspiration on keeping your kitchen clean and organized, browse our “Keep Your Kitchen Clean” Pinterest board.
Add new comment